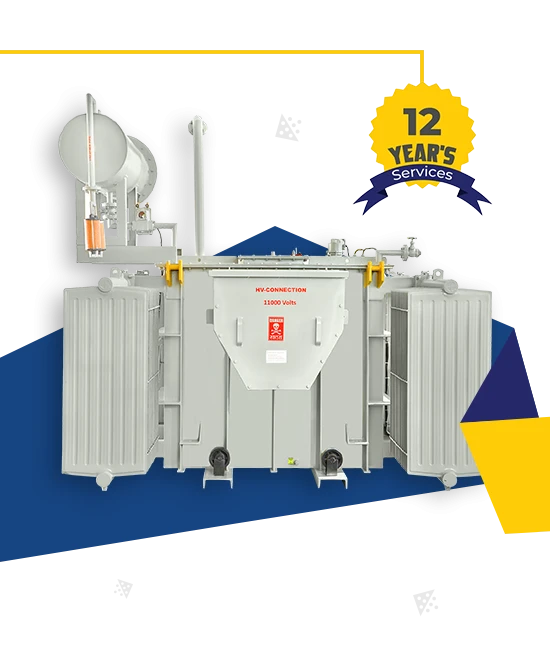
Step-By-Step Guide To Distribution Transformer Installation.
Installing a distribution transformer is a critical task that requires precision, proper tools, and adherence to electrical safety standards. Whether it’s for an industrial facility, a commercial building, or a residential power network, proper transformer installation ensures long-term performance, energy efficiency, and safety. Here’s a complete step-by-step guide for successful installation:
Step 1: Site Selection & Preparation
Choose a dry, ventilated, and vibration-free area.
Ensure enough clearance around the transformer for cooling and maintenance.
Create a solid concrete foundation or pad based on the weight and size of the transformer.
Step 2: Transport & Handling
Use proper lifting equipment like cranes or forklifts.
Never lift from the bushings or radiators.
Inspect the unit for transit damage before unpacking.
Step 3: Mounting the Transformer
Position the transformer securely on the pad/foundation.
Align and bolt it down properly using anchor bolts.
Check for leveling to ensure even oil distribution (for oil-filled transformers).
Step 4: Grounding the Transformer
Connect the transformer tank, neutral, and surge arresters to the grounding grid.
Use copper/galvanized iron conductors as per electrical code.
Verify earth resistance is within acceptable limits (generally < 5 ohms).
Step 5: Connecting High-Voltage & Low-Voltage Cables
Identify HV and LV terminals clearly.
Use appropriate lugs and torque settings for cable terminations.
Check insulation and phase identification before making final connections.
Step 6: Oil Level Check & Filling (for Oil-Type Transformers)
Verify oil level in the conservator tank and ensure it's within limits.
If required, filter and top up the transformer oil as per manufacturer’s specification.
Check for any leaks.
Step 7: Install Protection Devices
Install surge arresters, fuses, and circuit breakers on both HV and LV sides.
Ensure correct coordination settings with downstream equipment.
Use relays and alarms where necessary.
Step 8: Testing & Inspection
Perform insulation resistance (megger) test.
Conduct ratio, polarity, and winding resistance tests.
Verify grounding resistance and protection system operation.
Step 9: First Energization
Inform the utility or control room before energization.
Energize from the high-voltage side and observe for abnormal sounds or heating.
Record parameters like voltage, current, and temperature.
Step 10: Final Documentation & Handover
Record installation details, test results, and commissioning data.
Label the transformer clearly.
Handover operation manuals, warranty, and service documents to the client.
Conclusion:
Installing a distribution transformer involves careful planning, technical expertise, and strict adherence to safety standards. Following these ten steps will ensure smooth commissioning and long-lasting operation of your transformer setup.
Similar Post, You may interested!

 Limited")